Cleaning a Handgun: How to Maintain Your Firearm Properly
If you’re a new gun owner, chances are you were more excited about getting your firearm to the shooting range than researching the steps you should take after the shooting is done. However, cleaning and maintaining your firearm is an essential step that is often overlooked. To preserve the quality of your gun, here are the five steps involved in properly cleaning a handgun to keep it functioning at its best.
1. Unload the Handgun
It should come as no surprise that safety is rule #1 when dealing with guns. You should always double and triple-check that your firearm is completely unloaded before starting on the cleaning. This is the most crucial step in the cleaning process. The last thing you want to do is begin with one in the chamber. Take the time to make sure all safety precautions are being followed. Remove your magazine, check for any loaded ammunition, and then check again. Accidents can and do happen. Once fully unloaded, you can begin the cleaning process.
2. Cleaning a Handgun
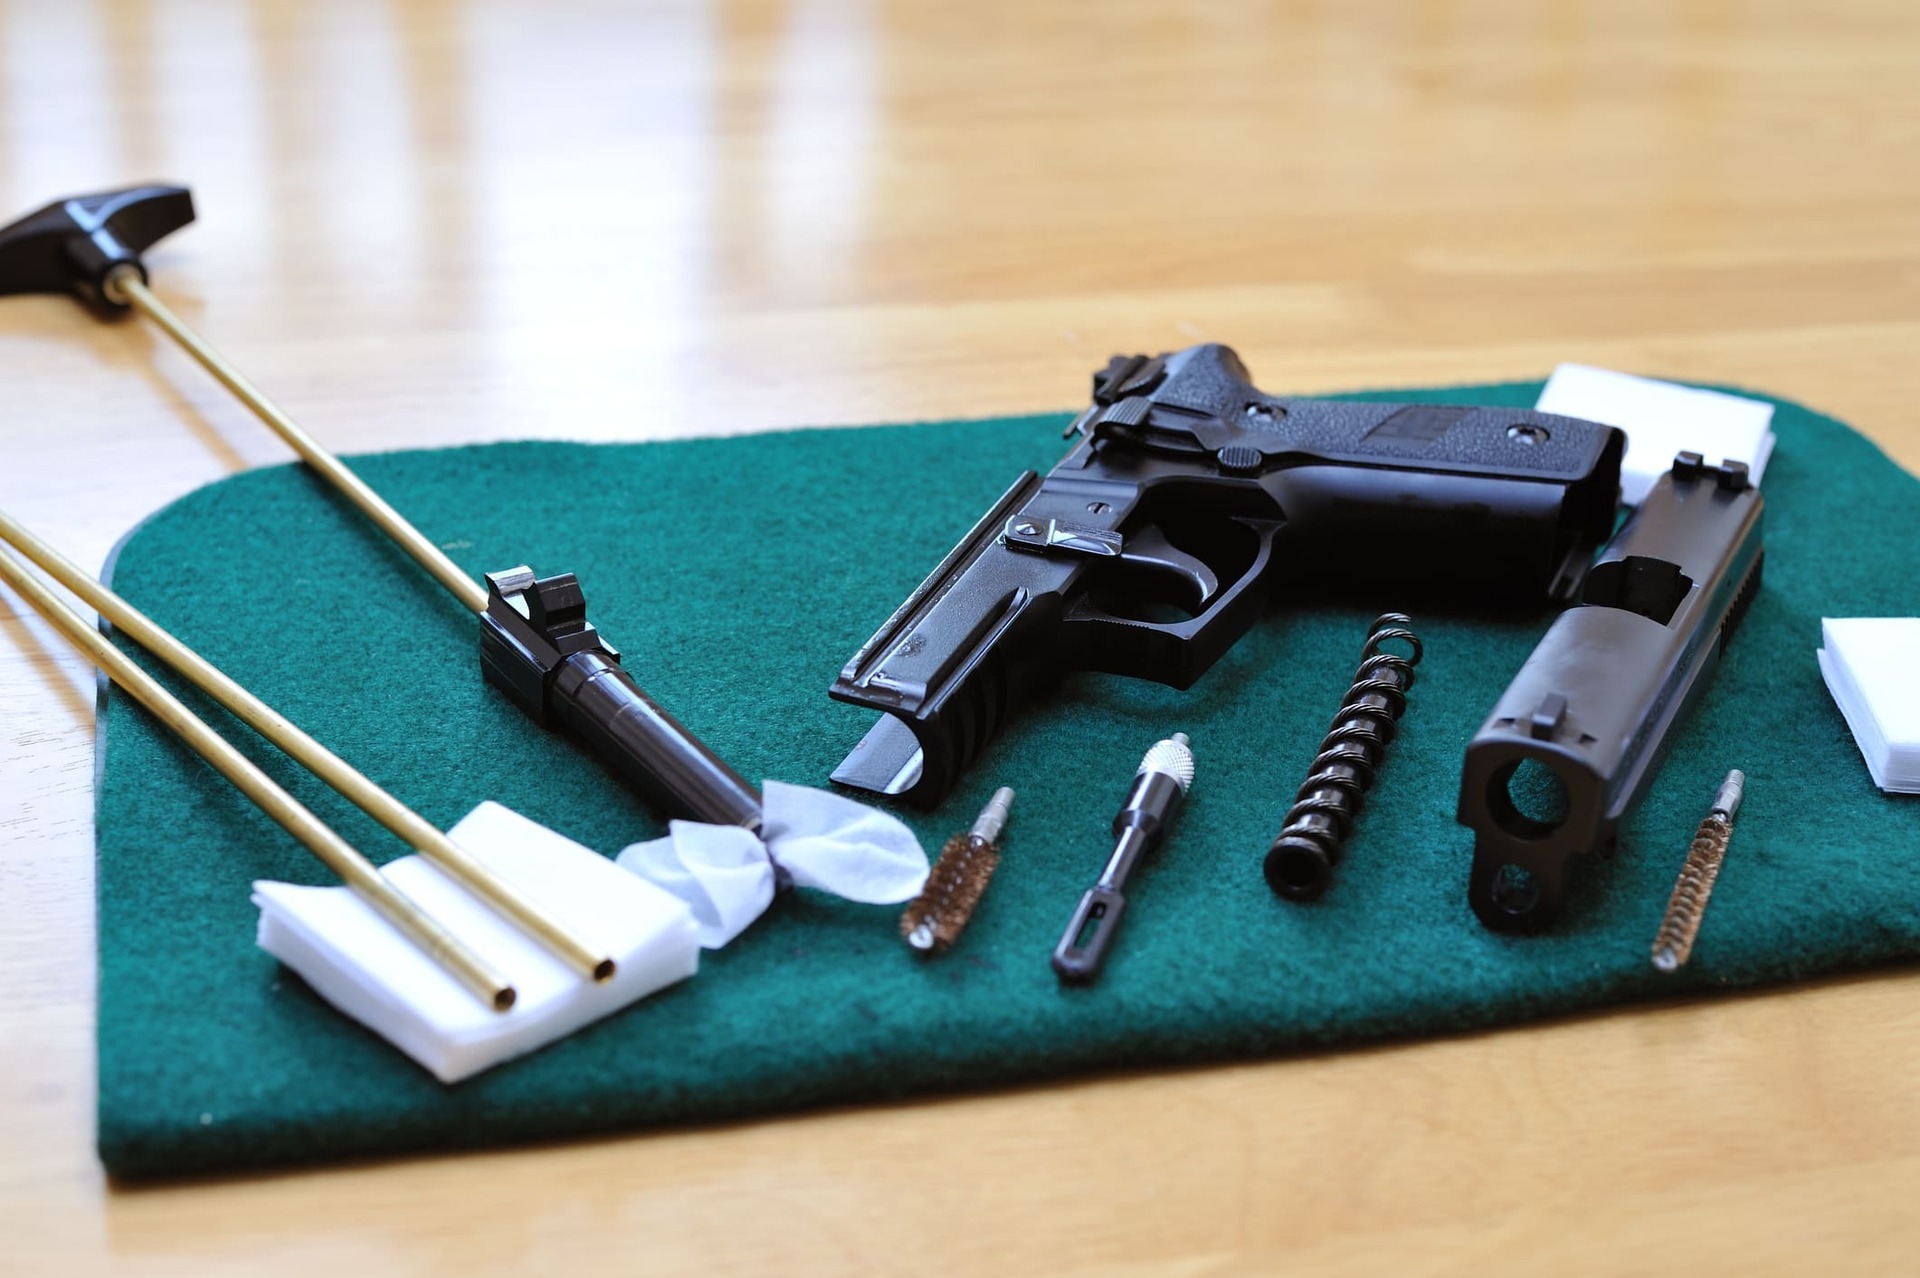
When cleaning a semi-automatic pistol, make sure to research and follow the manufacturer’s instructions for removing the slide. Make sure to keep all small parts and springs together in a separate container where they won’t be lost. Next, it’s time to start cleaning.
Use a cleaning tool, such as a utility brush, swabs, or cloths, and remove any particles that may be hiding in the slide, frame, chamber, and cylinders (revolvers). Following this, treat the barrel with a bore cleaner on a patch. Run it over and through the entire barrel. Once you complete this step, run a dry patch over it several times to help with the drying process. Monitor the amount of residue that comes off to determine how clean your firearm is getting. One popular tool is called a Bore Snake.
3. Lubricate Where Necessary
Once your slide, frame, chamber, and barrel are clean, it’s time to oil or lubricate any moving parts of your firearm. Check the recommended lubrication for your firearm from its’ manufacturer. You should only apply lubricant to the following:
- Springs
- Bearing surfaces
- Outside surfaces
- Rails
Whatever you do, do not apply any lubricants to the inside of your chamber or barrel unless you are storing it long-term. This can cause pressure to build when shooting, and lubricant on the ammo can cause misfires. One thing to remember when lubricating is that less is more. Use a cloth to help control the amount of oil/lubrication released onto your firearm.
4. Wipe Down Everything
Even if you think you have wiped down all components of your firearm well enough, go over it again. First, use a clean, dry cloth to help absorb any left-over residue. Then, once you’re finished wiping it down, you can use a wax-treated cloth to help protect and polish your firearm.
5. Reassemble and Check
After cleaning a handgun, it’s time to reassemble. Take your time and carefully inspect every piece as you put it back together. Check for any damage, wear, or irregularities that need to be addressed. You want your firearm to not only look good but to function at its best. Occasional scratches, dents, or marks are going to happen. However, make sure to check with your local gunsmith if you think any damage could potentially lead to safety concerns.
Invest in a Cleaning Kit
Now that you know the steps to take when cleaning a handgun, it’s time to invest in a good cleaning kit. Liberty Shooting Sports offers a wide selection of tools and equipment to maintain your firearm and keep it performing at its best. Browse our products and accessories to find a quality kit that meets your needs.